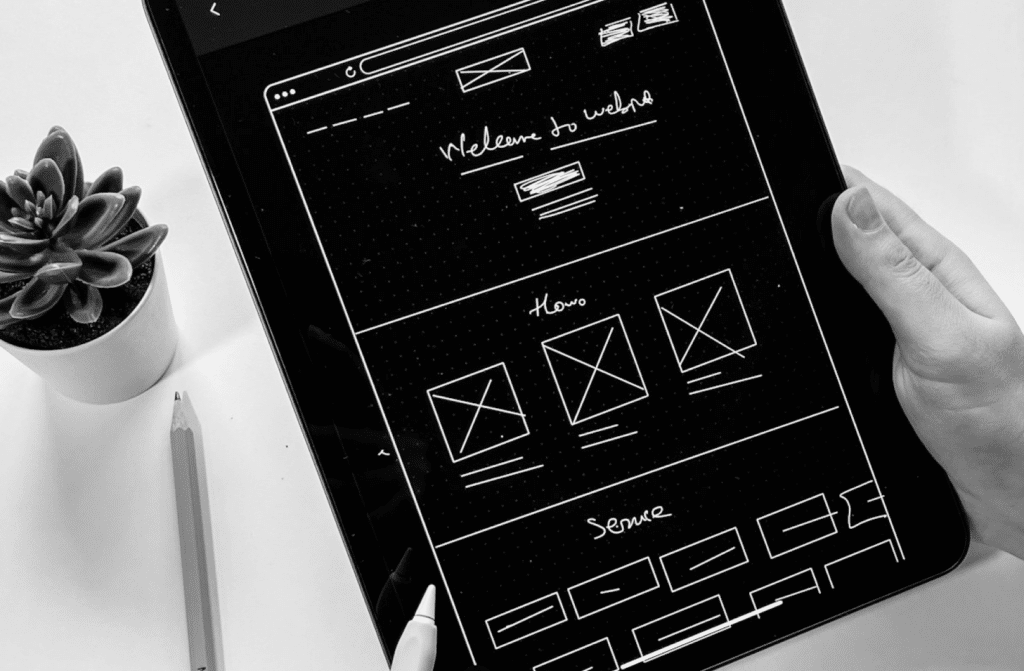
Figma s’est rapidement imposé comme l’outil incontournable pour nos travaux d’UI/UX au sein de l’agence. Grâce à ses fonctionnalités, il nous permet de collaborer en temps réel sur un même document, de présenter efficacement les designs à nos clients et de les partager instantanément avec l’équipe de développement. Dans cet article, Stéphane, UX designer chez Be API, partage ses conseils d’expert pour exploiter pleinement les fonctionnalités offertes par Figma.
Que vous soyez un designer chevronné ou un débutant passionné, ces précieuses astuces vous permettront de fluidifier votre processus de production.
1. Créez vos propres composants de manière efficace
Évitez les tâches répétitives et gagnez en productivité en créant vos propres composants grâce cette combinaison de touches: ⌥ + ⌘ + K. Pour une efficacité maximale, vous pouvez sélectionner plusieurs éléments et créer plusieurs composants simultanément, ou même créer un ensemble de composants à partir du menu dédié. En utilisant cette fonctionnalité, vous économiserez un temps précieux.
2. Optimisez l’utilisation des propriétés de composants
Pour simplifier la gestion des instances de composants et réduire le nombre de variantes nécessaires, exploitez pleinement les propriétés de Figma. Par exemple :
- Utilisez la propriété Boolean pour masquer certains éléments
- Utilisez la fonctionnalité Instance swap pour remplacer des instances de composants internes par d’autres.
- Utilisez la propriété Text pour modifier facilement un texte spécifique au sein de vos composants.
En tirant parti de ces propriétés, vous réduisez la complexité de votre projet et gagnez du temps lors de la personnalisation de vos composants.
3. Transformez vos ensembles de composants en autolayout
Cela peut sembler simple à première vue, mais c’est un véritable plaisir de ne plus avoir à ajuster les éléments au pixel près. Une astuce géniale consiste à utiliser l’autolayout pour vos ensembles de composants. Et la cerise sur le gâteau, c’est l’option wrap ⤶ de l’autolayout, qui permet de passer automatiquement les éléments à la ligne s’ils dépassent la largeur disponible.
En adoptant cette approche, vous gagnerez énormément en flexibilité lors de la mise en page de vos designs, tout en évitant les ajustements fastidieux.
4. Utilisez la fonction « Coller pour remplacer »
Dites adieu aux tâches répétitives de re-positionnement et de suppression d’éléments que vous souhaitez remplacer, en utilisant la fonction « Coller pour remplacer ». Il vous suffit d’utiliser la combinaison de touches ⇧ + ⌘ + R
Cette fonctionnalité permet de copier un nouvel élément et de le coller directement sur un élément existant, le remplaçant instantanément tout en préservant son positionnement et ses propriétés.
5. Affichez les contours pour une meilleure visibilité
Ne perdez plus vos éléments cachés dans Figma. Appuyez simplement sur ⇧ + O pour afficher les contours de tous les éléments, même (et surtout!) ceux qui sont masqués. Cette astuce pratique vous permettra de visualiser clairement la disposition de vos éléments et de travailler plus efficacement.
6. Organisez vos styles pour une gestion simplifiée
Facilitez la gestion de vos styles en utilisant le symbole « / » dans leurs noms, pour les regrouper en groupes sémantiques. Par exemple, vous pouvez utiliser des noms tels que:
- « border/text/background » pour les styles de couleurs
- « title/paragraph/label » pour les styles de texte
- « state/elevation » pour les styles d’effet
De plus, vous pouvez sélectionner plusieurs styles et les regrouper en utilisant le raccourci ⌘ + G. Cette technique vous permettra d’associer vos styles en fonction de leur utilisation.
Les raccourcis clavier, c’est vraiment le cheatcode de Figma : ça permet de faire du « pixel perfect » en passant moins de temps dans les menus.
Stéphane Godel, UX designer
7. Travaillez à partir d’un Design System
Disons-le: partir d’une page blanche n’est pas toujours très inspirant. Mieux vaut s’accompagner d’un guide, pour bénéficier de bonnes pratiques préétablies.
Chez Be API, nous travaillons à partir d’un kit de templates UX, spécialement conçu pour designer sur Gutenberg. Cet outil nous permet d’optimiser notre phase de conception au quotidien.Nous l’avons rendu disponible en open source sur Figma, alors n’hésitez pas à vous le procurer pour vos prochains projets WordPress.
8. Copiez un PNG pour un partage rapide
Vous avez besoin de partager rapidement un élément? Vous pouvez simplement copier l’image en utilisant le raccourci ⇧ + ⌘ + C, puis la coller dans vos messageries ou vos présentations. Cela vous permet de la partager rapidement, sans avoir à l’exporter au préalable.
9. Partagez un lien vers une frame spécifique
Lorsque vous partagez un lien Figma, l’idéal est de partager un accès direct vers l’élément spécifique qui vous intéresse. Pour cela, sélectionnez l’élément, faites un clic droit, puis choisissez « Copier le lien » dans le menu contextuel. Vous pouvez également coller un lien sur un texte, ce qui est particulièrement pratique pour créer des liens d’accès rapide au sein d’un document.
10. Effectuez vos calculs directement dans Figma
Plus besoin de calculatrice pour déterminer les dimensions exactes ou les espacements dans Figma. L’outil vous permet de réaliser ces calculs directement dans le champ de dimension. Par exemple, vous pouvez ajouter « +42 » à vos dimensions actuelles ou les diviser en quatre directement. Figma prend en charge les opérations classiques telles que +, -, /, *, ainsi que les parenthèses.
On espère que ces astuces vous aideront à booster votre productivité et libérer votre créativité. Si vous en avez d’autres en réserve, n’hésitez pas à les partager en retour.


